Official Guide · First Connection
Shadowrocket Getting Started
Follow these steps to connect for the first time, from importing an existing subscription to testing rule-based routing.
STEP 01
Add a server or import a subscription
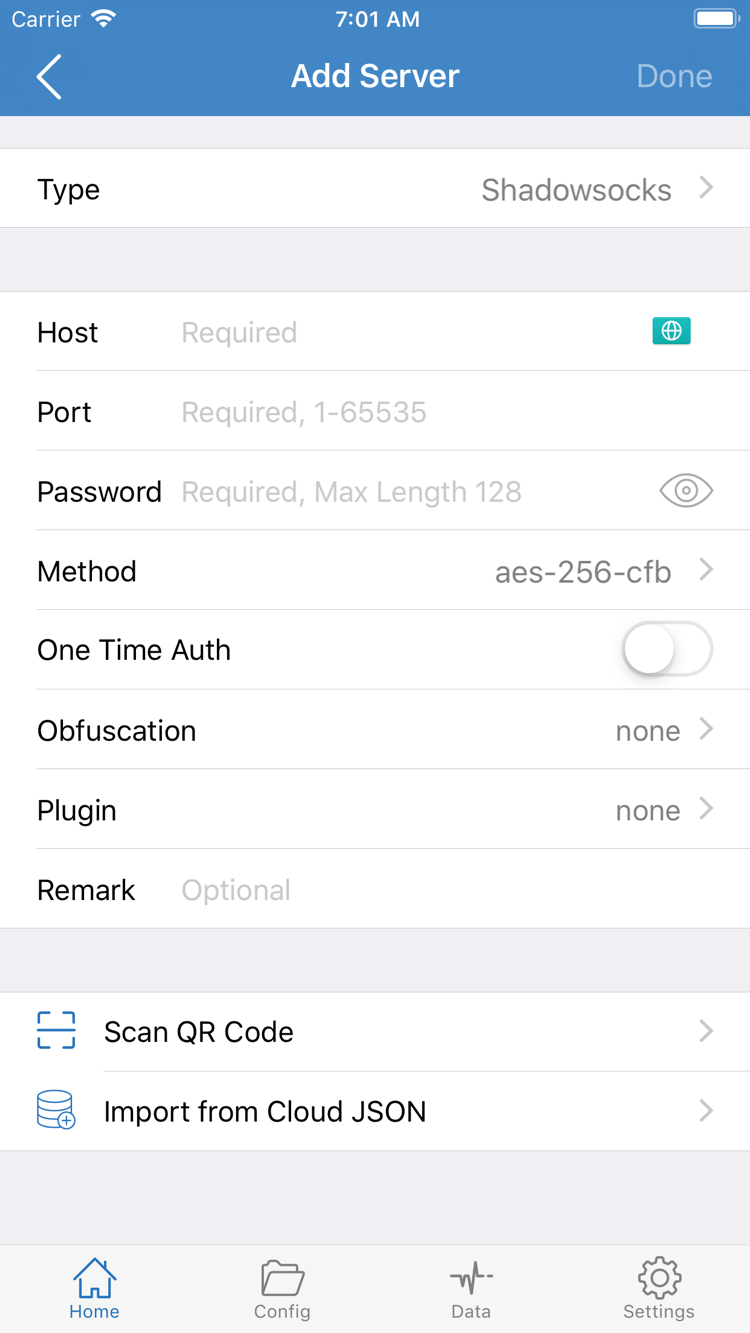
Open Shadowrocket and go to Home at the bottom. Tap the plus sign in the top-right corner to open Add Server. First, identify which details you have: a subscription link syncs a group of servers, while details for one server include its protocol, address, port, and relevant authentication parameters. Follow the instructions for your details below; you do not need to import a subscription and then enter each server manually.
Have a subscription link: choose Subscribe
Tap Type, choose Subscribe, and paste the complete link from your service provider into URL. Keep the question mark and any following parameters if they are part of the link; copying only the domain at the beginning usually will not retrieve the subscription. After saving, return to Home, wait for the subscription to sync, then expand the relevant group to see its entries. If the list is still empty just after saving, manually update it once from the group menu, then troubleshoot based on the result.
Have details for one server: enter them by protocol
Under Type, select the protocol specified by your service provider, such as Shadowsocks or Trojan. Enter the address in Host and the port in Port. If the form shows Password, Method, or other fields, fill them in using the provided details. Host is not a subscription link, and you do not need to append the port to the address. Changing Type changes the available fields; do not use parameters for one protocol with another. If your service provider also supplies a QR code, use Scan QR Code in Add Server to import it, then confirm the protocol and address match the same server.
After saving, return to Home, find the new entry in the SERVER section, and select the server you want to use. Seeing an entry in the list only means its details have been saved. Selecting it sets the connection target for rules that use a proxy in the next step. Leave the switch at the top off for now, and check Global Routing.
STEP 02
Choose a Global Routing mode
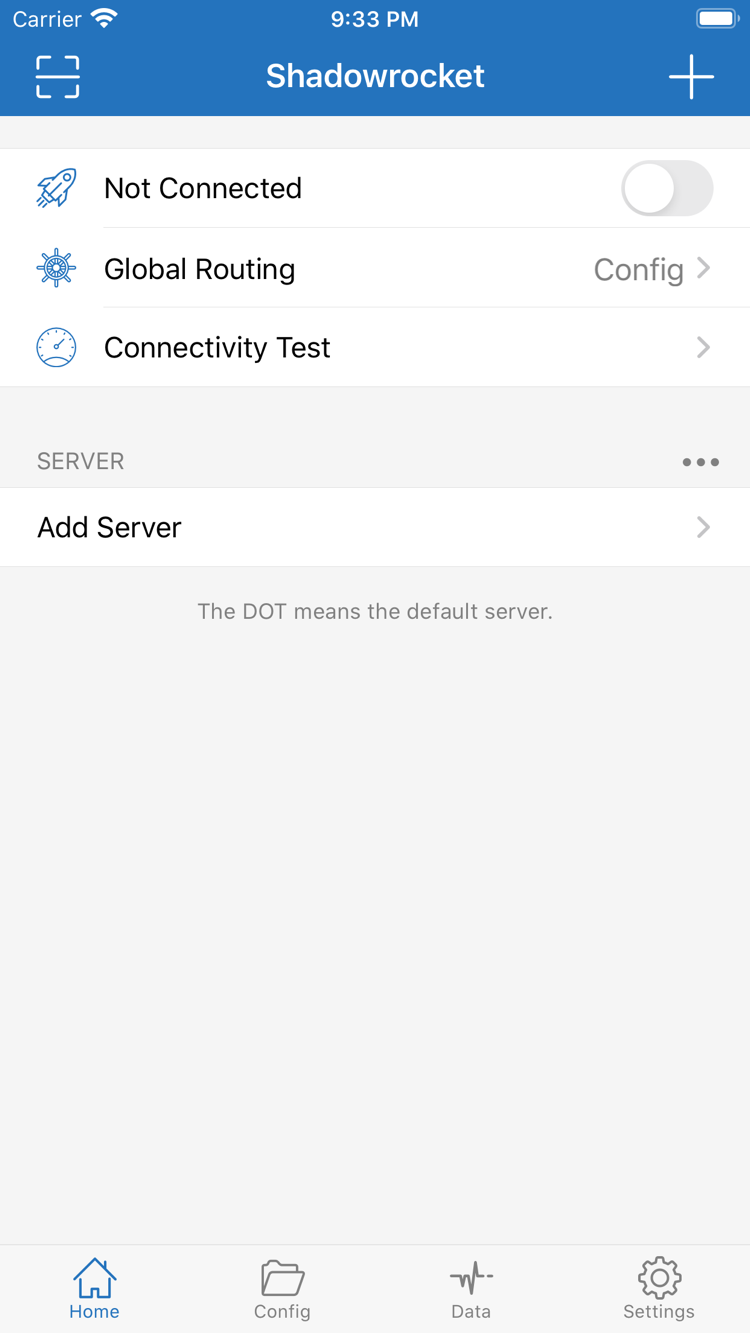
Tap Global Routing on Home and choose a mode for your current goal. This setting controls how the client handles requests; it does not change the selected server or act as the connection switch. For your first rule-based routing setup, choose Config (Config). To tell whether an issue is caused by a rule or by the connection, temporarily switch to one of the other two modes for comparison.
- Configuration (Config)
- Matches requests against the active configuration file. Results such as
PROXY,DIRECT, orREJECTdetermine whether a request uses a proxy, connects directly, or is rejected. - Proxy
- Routes requests handled by the client through a proxy. Use this temporarily to check whether the current server can reach the same address, then switch back to your usual mode when testing is complete.
- Direct
- Connects requests handled by the client directly. Use this to compare access to the same address; selecting this mode does not turn off the switch at the top.
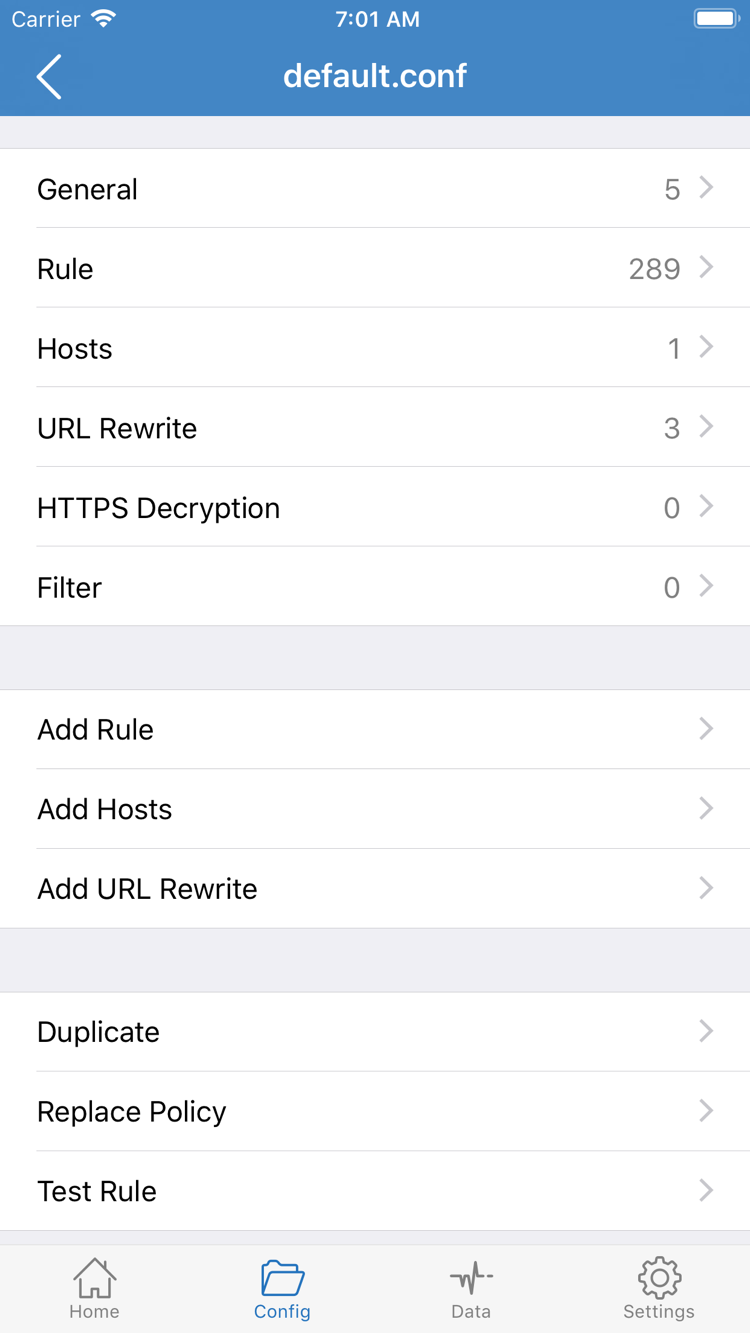
After choosing Config (Config), tap the Config tab at the bottom and check which file is active. Note the difference between the two entries with the same name: Config under Global Routing determines whether requests are handled by rules, while the Config tab at the bottom manages the configuration file actually in use. If the file list contains several configurations, use the active one as your reference; do not rely only on its name or last-edited time.
Open the active configuration’s details to view matching conditions and corresponding policies under Rule. Rules are usually checked in order: once an earlier rule matches, the final FINAL rule does not override the result. You do not need to tap Add Rule for your first connection. Just identify one address expected to use PROXY and another expected to use DIRECT for comparison in Step 04. If you are unsure which rules the configuration contains, you can first use Proxy (Proxy) to test connectivity, then return to Config (Config) to check routing.
STEP 03
Turn on the connection from Home
Return to Home. First check that the selected entry under SERVER is correct, then confirm the Global Routing row shows the mode you just chose. Next, tap the switch beside Not Connected at the top. The first time you turn it on, the system may ask to add a VPN configuration. Confirm that the prompt was initiated by Shadowrocket, allow the configuration to be added, and complete any verification requested by your device.
Return to Home and wait for the top status to change from Not Connected to Connected. If the switch remains off, first confirm the system operation completed, then try once more. Do not tap the switch repeatedly, or it may be hard to tell whether the system is still processing or the connection was turned off again. If another VPN is already running on the device, do not delete its configuration without checking. If possible, end the current connection first, then retry in Shadowrocket. For a device managed by an organization, ask the administrator about any restrictions.
Connected means the client connection has started. It does not mean the selected server has passed a test or that every web page is routed through a proxy. In particular, some requests are expected to connect directly in Config (Config) mode. For the first check, use the manual switch and leave On Demand unchanged. This makes it easier to tell whether a connection state is caused by your action when switching networks or returning from the background.
Keep the current network and server selected. First run a test in the app, then verify in a browser. If the switch returns to Not Connected immediately after you turn it on, go directly to the system permissions and switch troubleshooting in Step 05; there is no need to change rules first.
STEP 04
Verify with Connectivity Test and web pages
Tap Connectivity Test on Home, wait for it to finish, and review the result for the currently selected server. A successful test means the server passed this probe on the current network; even a displayed response time does not guarantee that a specific website will open. If the test fails, first check which server was tested and confirm that the device itself has a working network. Do not rewrite the configuration based on a single timeout.
Next, open a browser and visit the two addresses you identified in the configuration in Step 02: first the one expected to use PROXY, then the one expected to use DIRECT. Reload the same complete address, and watch for redirects to another domain; requests made after a redirect are matched separately against the new domain. Images and scripts from other domains on a page may also use different policies, so a page opening only confirms the access result; it does not by itself prove that all page traffic went through a proxy.
If the result differs from expectations, keep the network, server, and test addresses unchanged, and switch Global Routing one mode at a time. If the same address works with Proxy (Proxy) but not Config (Config), first check the active configuration, target domain, and rule order. If both Proxy (Proxy) and Direct (Direct) fail, check the URL, current network, and target site status. The result alone does not prove that a rule is wrong.
STEP 05
Narrow down the issue based on its symptoms
Subscription saved, but the list is empty
First expand the subscription group on Home to make sure it is not collapsed. If it is still empty, open the subscription entry and check that Type is set to Subscribe, and that the beginning, end, and query parameters of the link are complete. Then manually update it once. If the update reports that the link is invalid or access is denied, check the subscription status with your service provider. Do not share the full link publicly; its parameters may be enough to access your subscription.
The switch turns off again, or reconnects after disconnection
If it turns off immediately, first confirm that you completed the system’s VPN configuration authorization and that another VPN is not using the connection. If it reconnects after disconnection, open On Demand in Settings at the bottom and check whether the current network meets the configured trigger conditions. To test the manual switch, temporarily turn off on-demand connection and retry on the same network. After identifying the cause, restore the settings as needed.
Shows Connected, but requests fail
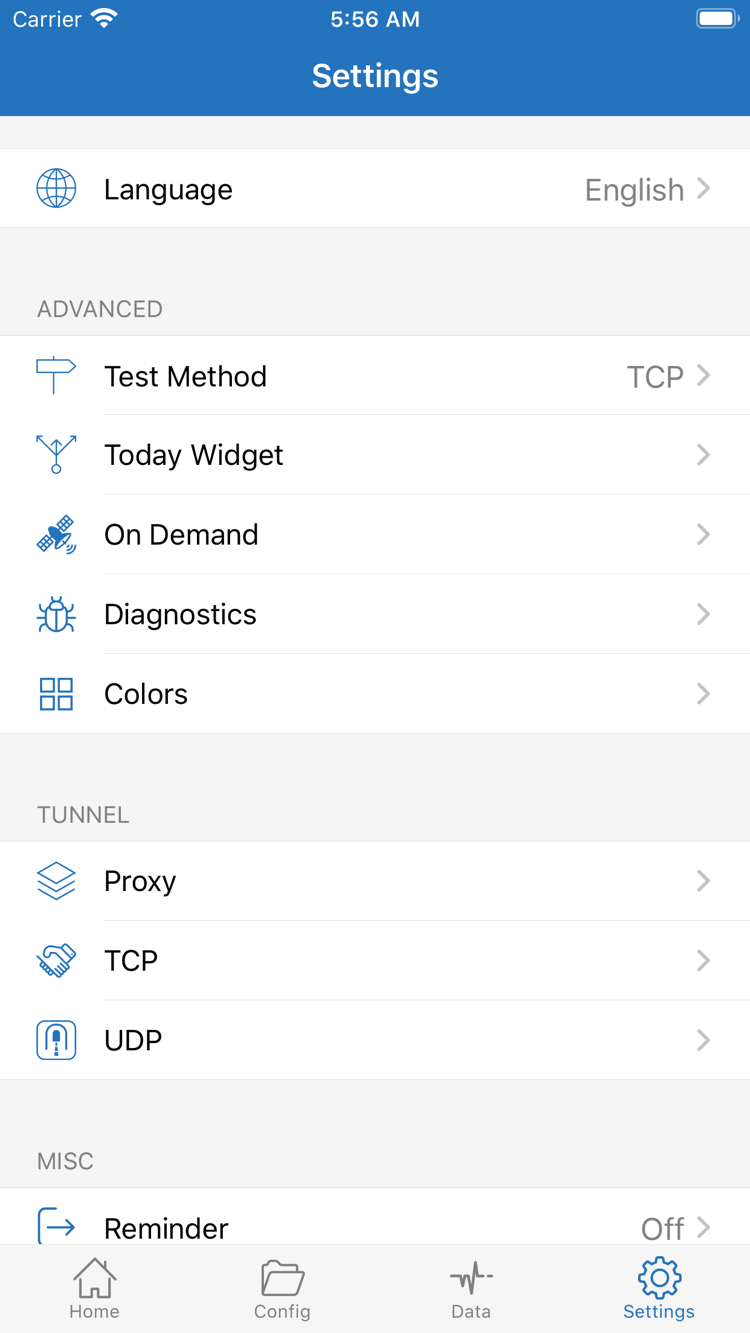
If tests for several servers all show abnormal results, first check Test Method in Settings and confirm that you are using the same test method as before, then retest on Home. If only certain servers fail, recheck their protocol, address, port, and authentication parameters. If the issue occurs only in Config (Config) mode, check whether the domain matches an earlier rule or falls through to FINAL without matching any preceding rule.
To investigate further, open Diagnostics in Settings and review the diagnostic information. Record only the network type, selected mode, point of failure, and error message needed to reproduce the issue. Hide server authentication details and subscription links before asking for help publicly. See Frequently Asked Questions for routing keywords, authorization prompts, and other issues; see the official guide for App Store regions, purchase verification, and restoring on a new device.